
To start working on Python you need to have Python installed on your PC. If you haven’t installed python. Go to the Python website and get it installed.
After installing Python set up your twitter account if you don’t have one already. Next, go to Developer Page and apply for the Developer Access, then fill the form and accept the developer agreement.

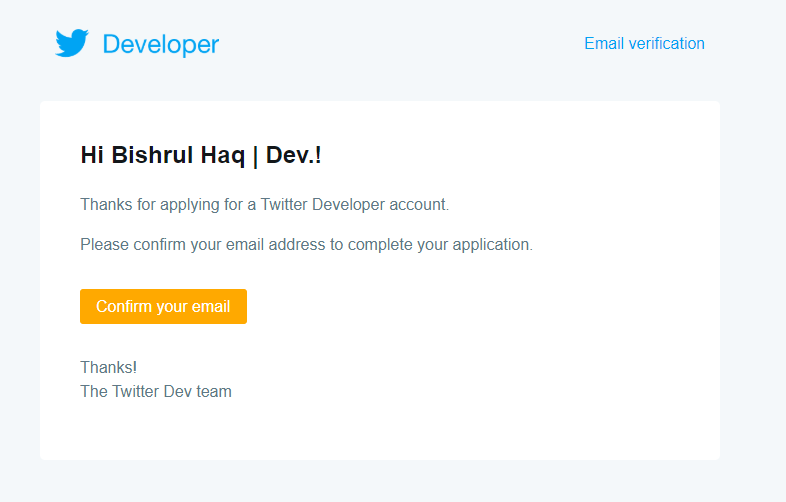
After Submission, you’ll receive an email for a confirmation.
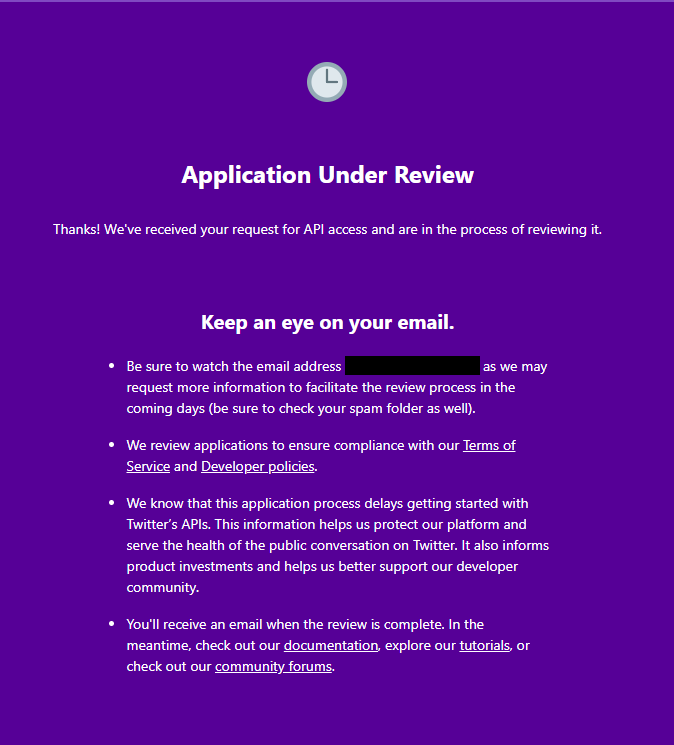
After confirming the email. Your account will be in a review phase and you’ll receive an email of approval after the review.
Note:
Approval time may vary from one to another.
Application Review 
Approval of Developer Account
Once Your Application gets accepted. Create an App to access the tweets.

Click on Create an App to create the APP 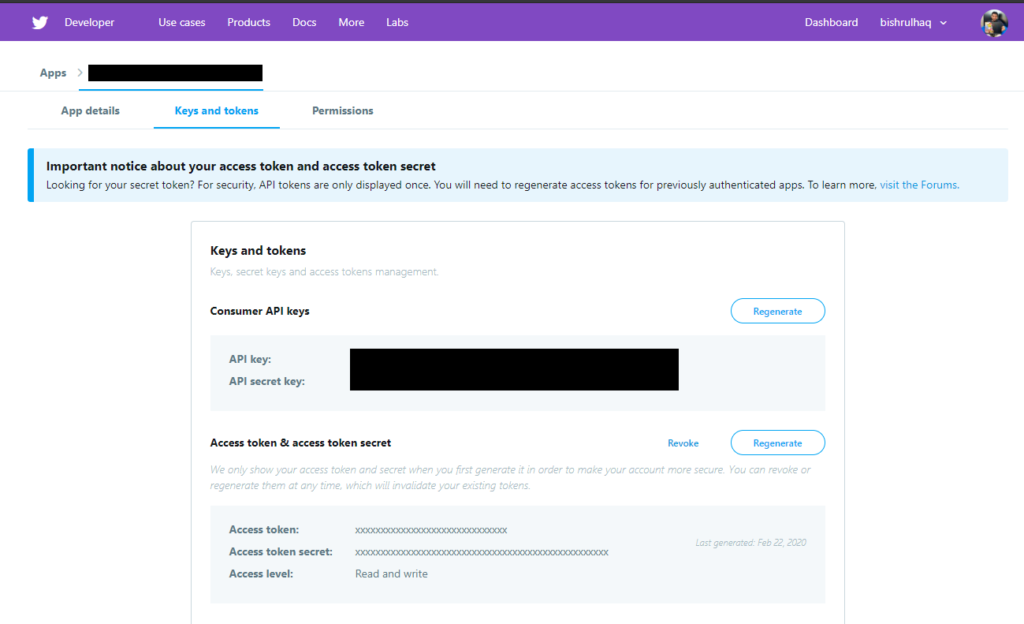
Relevant Keys to Access Twitter API
After, creating the App Successfully go to Keys and Tokens in your app to access the keys.
Access Twitter API in Python
Install Tweepy by using the following command if you haven’t installed it already.
pip install tweepy
Once you have installed Tweepy. Import the relevant libraries to your Python file.
import csv
import tweepy as tw
import time
Code language: JavaScript (javascript)
To access the data of tweets you need to have 4 keys from the Twitter app page. You can get the keys from the Key Access Token Tab and define them in your python file as below.
consumer_key= 'your_consumer_key'
consumer_secret= 'your_consumer_secret'
access_token= 'your_access_token'
access_token_secret= 'your_access_token_secret'

auth = tw.OAuthHandler(consumer_key, consumer_secret)
auth.set_access_token(access_token, access_token_secret)
api = tw.API(auth, wait_on_rate_limit=True)
Code language: PHP (php)
Append the twitter data to an existing file by using the method open(file, mode) as shown below :
Parameter mode values
"r" – Read – Default value. Opens a file for reading, error if the file does not exist
"a" – Append – Opens a file for appending, creates the file if it does not exist
"w" – Write – Opens a file for writing, creates the file if it does not exist
"x" – Create – Creates the specified file, returns an error if the file exists
csvFile = open('Filename.csv', 'a')
csvWriter = csv.writer(csvFile)
Code language: JavaScript (javascript)
Next, you need to implement Tweepy cursor to fetch the tweets via a for loop to fetch 1000 tweets.
- ID
- User Name
- Text
- Created at
- User Location
search_terms ='*'
# IF YOU WANT TO USE MULTIPLE KEYWORDS THEN USE OR IN BETWEEN AS : search_terms = 'bishrulhaq OR BH'

count= 0
for tweet in tw.Cursor(api.search,
                       q=search_terms,
                       since='2020-05-01', until='2020-05-10',
                       count=5000,
                       result_type='recent',
                       include_entities=True,
                       monitor_rate_limit=True,
                       wait_on_rate_limit=True,
                       lang="en").items():
    try:
        count = count + 1
        print ("No of Tweet: %d" %count)

        csvWriter.writerow([tweet.id, tweet.user.screen_name.encode('utf8'), tweet.text.encode('utf-8'), tweet.user.location.encode('utf8')])
        # change the count values as the number of tweets you need to fetch
        if count == 10000:
            break

    except IOError:
        time.sleep(60)
        continue

print ("Total Tweets Fetched %d" %count)
csvFile.close()

Code language: PHP (php)
Finally, the code will look like this,
import csv
import tweepy as tw
import time

# BH | Bishrul Haq

consumer_key= 'your_consumer_key'
consumer_secret= 'your_consumer_secret'
access_token= 'your_access_token'
access_token_secret= 'your_access_token_secret'

auth = tw.OAuthHandler(consumer_key, consumer_secret)
auth.set_access_token(access_token, access_token_secret)
api = tw.API(auth, wait_on_rate_limit=True)

csvFile = open('extracted_tweets.csv', 'a')
csvWriter = csv.writer(csvFile)

search_terms ='*'
# IF YOU WANT TO USE MULTIPLE KEYWORDS THEN USE OR IN BETWEEN AS : search_terms = 'bishrulhaq OR BH'

count= 0

for tweet in tw.Cursor(api.search,
                       q=search_terms,
                       since='2020-05-01', until='2020-05-10',
                       count=5000,
                       result_type='recent',
                       include_entities=True,
                       monitor_rate_limit=True,
                       wait_on_rate_limit=True,
                       lang="en").items():
    try:
        count = count + 1
        print ("No of Tweet: %d" %count)

        csvWriter.writerow([tweet.id, tweet.user.screen_name.encode('utf8'), tweet.text.encode('utf-8'), tweet.user.location.encode('utf8')])
        # change the count values as the number of tweets you need to fetch
        if count == 10000:
            break

    except IOError:
        time.sleep(60)
        continue

print ("Total Tweets Fetched %d" %count)
csvFile.close()
Code language: PHP (php)